process: the brother's freeze: workin' the skin
this is the brother's freeze, hip hop producers and brothers ray ray (left) and alanso; and this is the process i took to paint them.
i'm mainly focusing on the skin tones in this blog, the funnest part of painting for me.
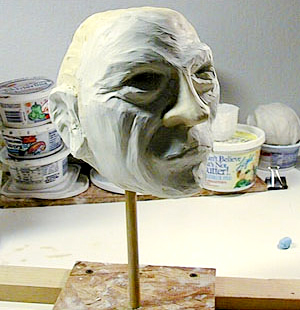
first, the drawing:

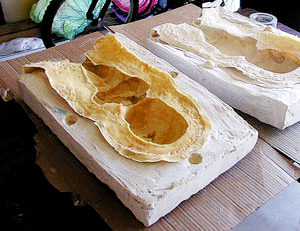
i then blow the finished drawing up on a xerox machine, and trace it on to a gessoed board with transfer paper. spray the pencils with spray fixative (outdoors and with your nose and mouth covered) to keep the pencils from smearing.
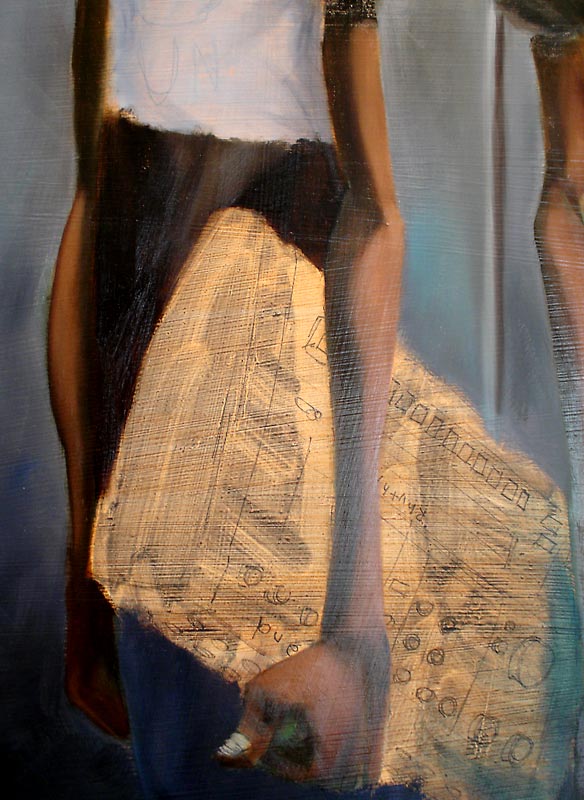
coat the board with a thin layer of burnt umber thinned with gamsol over the pencils. i've painted on white boards before, and the white areas you miss while painting will really shine out.
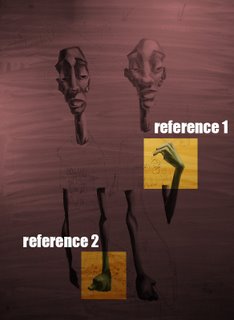
there are two small arrows on the top right of the painting, that's going to be where the light source is coming from (a hanging lamp or something that's out of the frame).

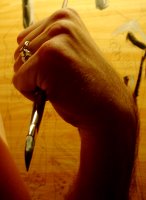
i have references from magazines and photographs, but having a digital camera on-hand can be really handy. i stood under the lamp of my easel and shot these.
reference 1
reference 2

here's an overall blocking in of the colors. i want the side and top border to be red brick, and a receeded door in the background. the overhang will have the name of their studio, 'the freezer,' (the original drawing said 'entrance', i decided to change this after i began the painting) and will also cause a shadow on the top part of the door.

here i start to work over the dried underpainting. i start laying in the shadow area (which doesn't come naturally to me, it's easier for me to visualize the highlights first), keeping the shadows warm (i'll lay in some cool highlights last)-
then the midtones. i block everything in roughly-

and blend it with dry blending brush.

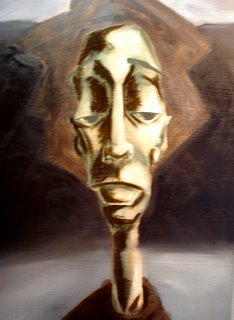
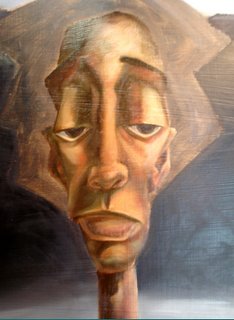
here's alanso after the first round of shadows and mids, blended.

adding some other mids to alanso, some greens, some reds to the cheeks and nose.


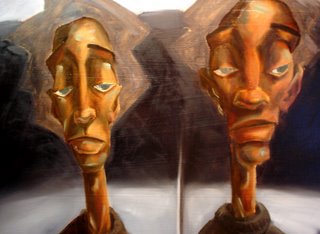
adding some highlights to ray ray:


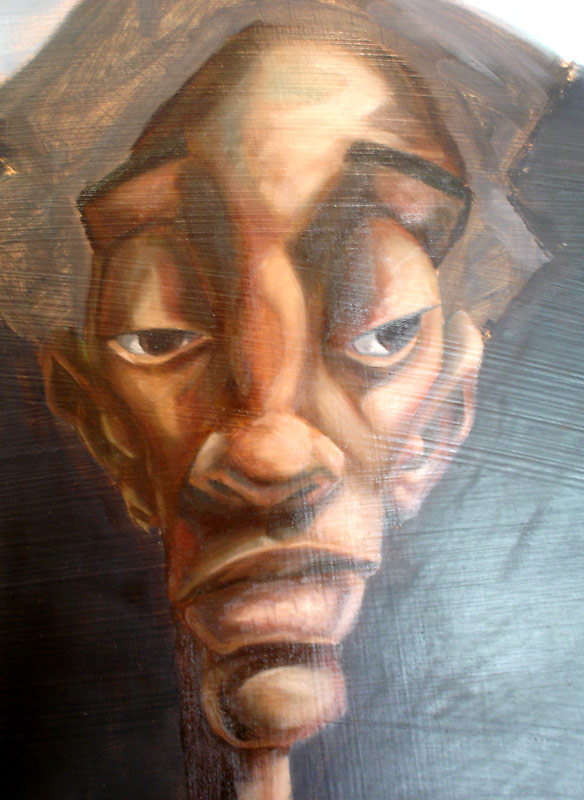
here's alanso with his his, mids and lows (sorry about the glare).

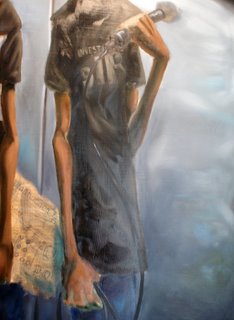
same approach goes for the arms. shadows and mids, highlights last. also, trying to get some other colors in the mids - greens, blues, reds; otherwise it looks like too blah.

the main work of the skin is done.

i'm mainly focusing on the skin tones in this blog, the funnest part of painting for me.
first, the drawing:

i then blow the finished drawing up on a xerox machine, and trace it on to a gessoed board with transfer paper. spray the pencils with spray fixative (outdoors and with your nose and mouth covered) to keep the pencils from smearing.
coat the board with a thin layer of burnt umber thinned with gamsol over the pencils. i've painted on white boards before, and the white areas you miss while painting will really shine out.
there are two small arrows on the top right of the painting, that's going to be where the light source is coming from (a hanging lamp or something that's out of the frame).

i have references from magazines and photographs, but having a digital camera on-hand can be really handy. i stood under the lamp of my easel and shot these.
reference 1

reference 2

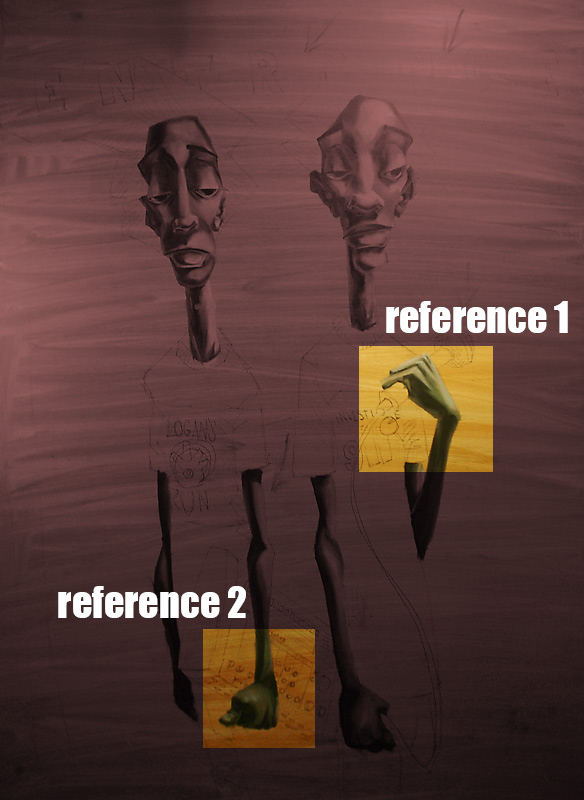
here's an overall blocking in of the colors. i want the side and top border to be red brick, and a receeded door in the background. the overhang will have the name of their studio, 'the freezer,' (the original drawing said 'entrance', i decided to change this after i began the painting) and will also cause a shadow on the top part of the door.

the skin:
here i start to work over the dried underpainting. i start laying in the shadow area (which doesn't come naturally to me, it's easier for me to visualize the highlights first), keeping the shadows warm (i'll lay in some cool highlights last)-
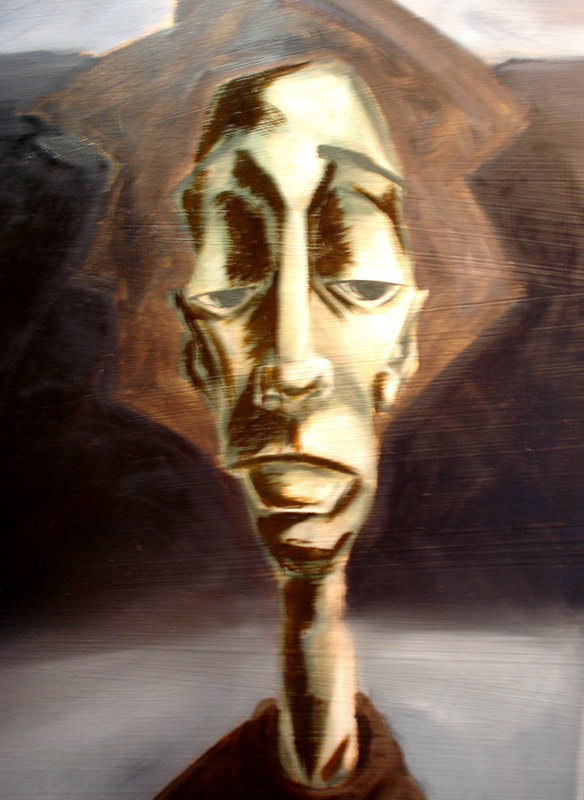
then the midtones. i block everything in roughly-

and blend it with dry blending brush.

here's alanso after the first round of shadows and mids, blended.
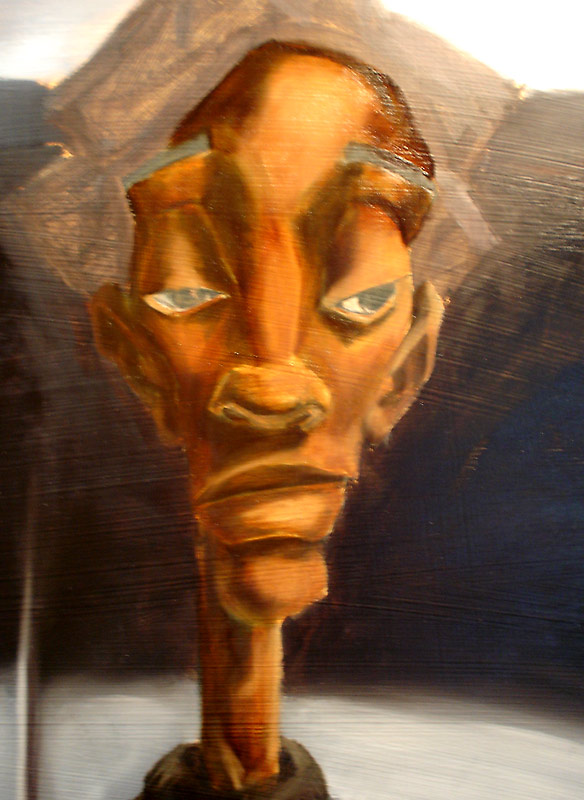

adding some other mids to alanso, some greens, some reds to the cheeks and nose.


adding some highlights to ray ray:


here's alanso with his his, mids and lows (sorry about the glare).
same approach goes for the arms. shadows and mids, highlights last. also, trying to get some other colors in the mids - greens, blues, reds; otherwise it looks like too blah.

the main work of the skin is done.

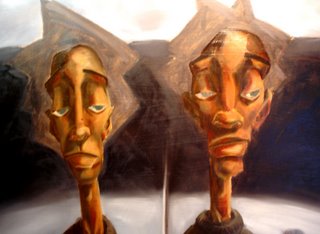
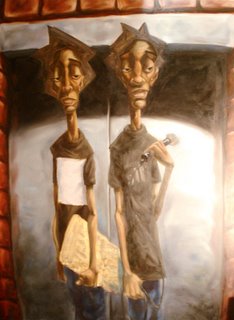
the last step is glazing the darks to make them really drop down in value, i glaze in some colors over the midtones - more reds, brownish-blues, and some green, and some highlights on the areas that would catch the most light.

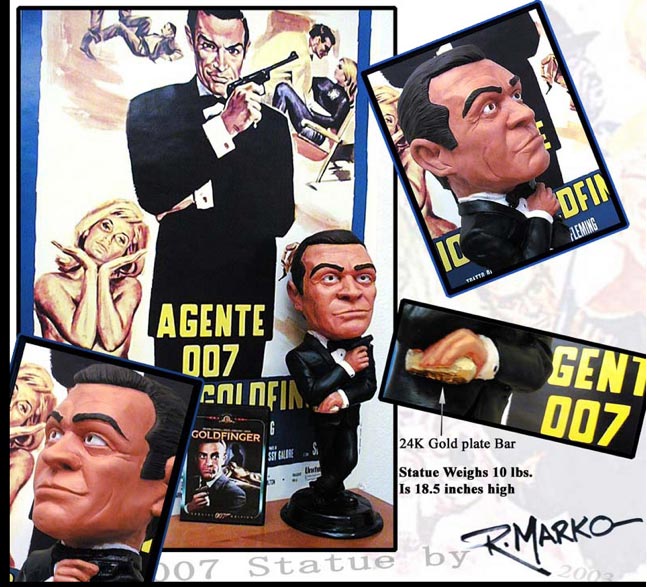
the brother's freeze, copyright 2007 jw miller
posted by jw miller at 12:54 PM
0 comments
![]()
![]()